Safer development with a system-wide dev container

This article was featured in This Week in React 🎉
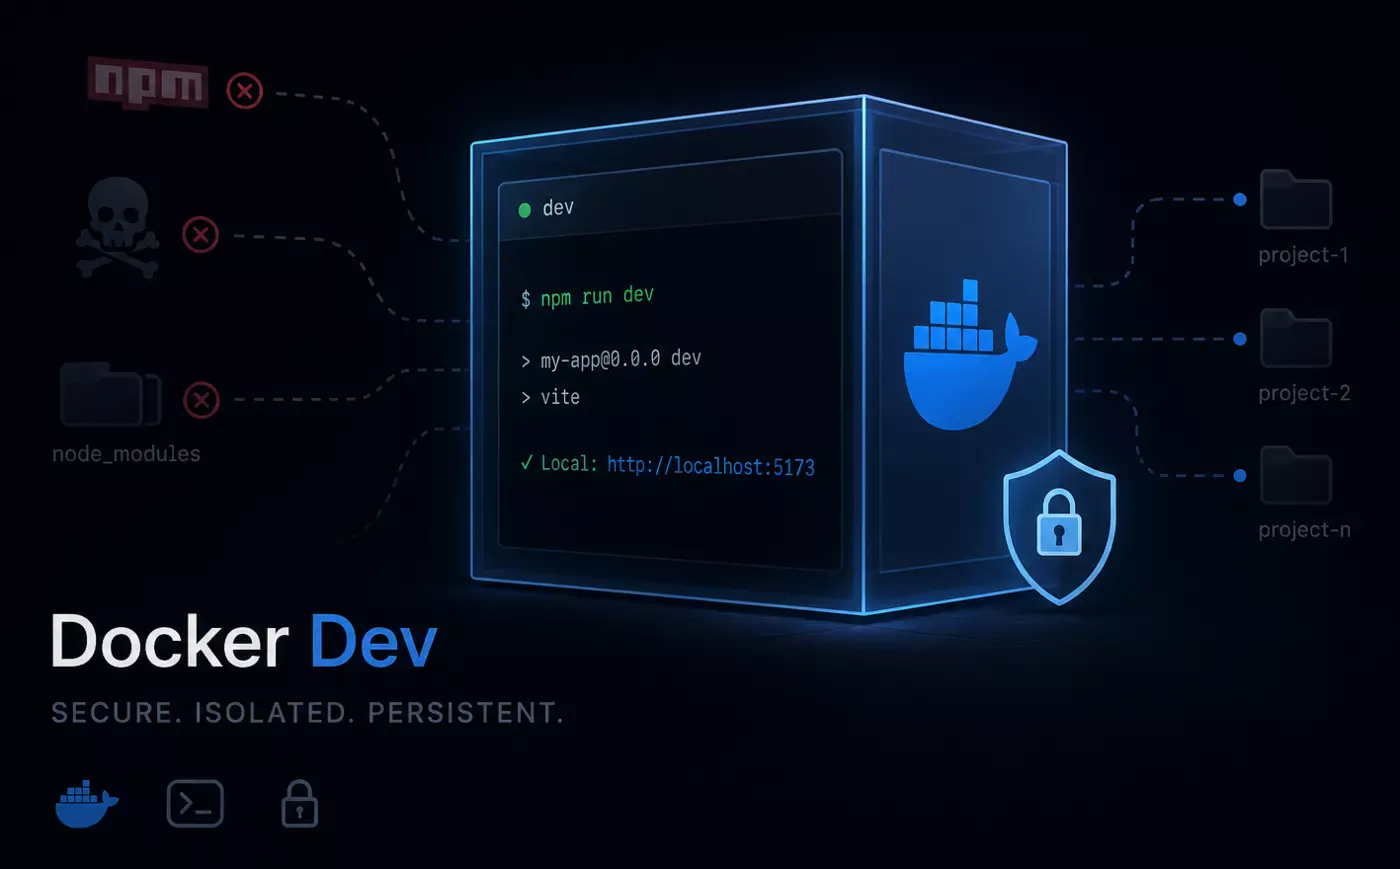
Run a single Docker container that stays active, and drop into it whenever you need to work on a Node project.
This "system-wide" container:
- starts once and stays running: no startup time and less disk space, compared to regular per-project dev containers,
- is used to work on multiple projects: attach as many VS Code windows as you want to it,
- isolates NPM packages from your host system.
NPM supply chain attacks are increasingly common. Recently, the multiple Shai-Hulud campaigns compromised many packages including some belonging to CrowdStrike, Zapier, PostHog, Postman, and many others.
Node.js wasn't built with security in mind: any script, any dependency, has full access to the user's environment (file system, network, etc. which easily leads to credentials theft). Node's author himself recognised this and created Deno and its system of permissions for this reason.
A way to make working with Node more secure is to use a dev container: a Docker container inside which we run all our NPM commands and Node scripts. This isolates them from our host machine and drastically limits the damage in case of compromise.
However, with many projects, creating one dev container for each can quickly become cumbersome.
The solution presented here is to create a single, persistent, "system-wide" development container, inside which we will open all our projects.
Setup
Working inside a dev container doesn't create any overhead on Linux, as Docker works natively there. If you use another system, your experience may vary.
The full implementation is called Docker Dev and is available at github.com/zwyx/docker-dev.
First, you'll need to set up Docker if you don't have it already.
Then, clone the Docker Dev repository:
git clone https://github.com/zwyx/docker-dev.git
cd docker-dev
Open the file docker-compose.yml, and modify the following line:
- ~/dev:/home/${USER}/dev
to replace dev with the name of your main workspace folder (containing all your repositories). The goal is for all your projects to have the same path on your host machine and inside the container. This will make switching from any directory on your host to the same directory inside the container very easy.
Do the same in the Dockerfile:
WORKDIR /home/${USERNAME}/dev
If you're on a Mac, also replace /home with /Users everywhere in these two files.
Now, start the container:
docker-compose up -d
This container is quite tied to my personal configuration and preferences. If something doesn't work for you, open Dockerfile and docker-compose.yml to make any necessary adjustments.
Terminal integration
On your host machine, add this alias to your ~/.zshrc (or equivalent):
alias d='docker exec -it -w "$PWD" dev zsh'
Now, if you have correctly configured your workspace folder during the previous step, you can navigate to any project or subdirectory inside it, and simply run:
d
to open a terminal session inside the dev container, at the same location:

VS Code integration
Attach the first window
Install the official Dev Containers extension.
Then in VS Code, open the command palette, run Dev Containers: Attach to Running Container... and select the container dev.
Now open a project's folder in this window, and that's it: you can start working with the same dev environment you're used to.
Some VS Code extensions, like Prettier and ESLint, need to run inside the container. Simply open the Extensions view in your sidebar and click Install in container on the extensions you wish to use.
Having extensions running inside the container is a great security improvement because VS Code extensions, like NPM packages, have full access to your system and can be compromised. Even worse: VS Code, by default, auto-updates them! Which means, if an extension gets compromised, it could land on your machine without you doing anything.
So having extensions running inside the container is much safer: compromised extensions won't have access to your host system.
However: not all extensions run inside the container. Some extensions, like themes, always run on the UI on your host machine, so they do have access to your system. I highly recommend to disable auto-update for these extensions, and to update them manually when nothing is going on in the news.
Attach multiple windows
You can have as many projects as you want opened simultaneously, each on its own VS Code window attached to the container.
However, if a VS Code window is already attached to the container, then running again the command Dev Containers: Attach to Running Container... will simply focus the existing window, which can be confusing.
To make things simpler, set the VS Code setting window.openFoldersInNewWindow to on.
Now, in a window that is already attached to the container, run the command File: Open Folder..., select the folder of another project you'd like to open, and press Enter. A new window – also attached to the container – will open with this project.
Set a keyboard shortcut for this command, for convenience. (I set Ctrl+O, as I only use Ctrl+P to open files.)
Visual differentiation
You can decorate windows that are attached to the container differently than regular windows, to quickly distinguish them.
For instance, you can make the window's title start with a package 📦 icon, and colour its title bar:
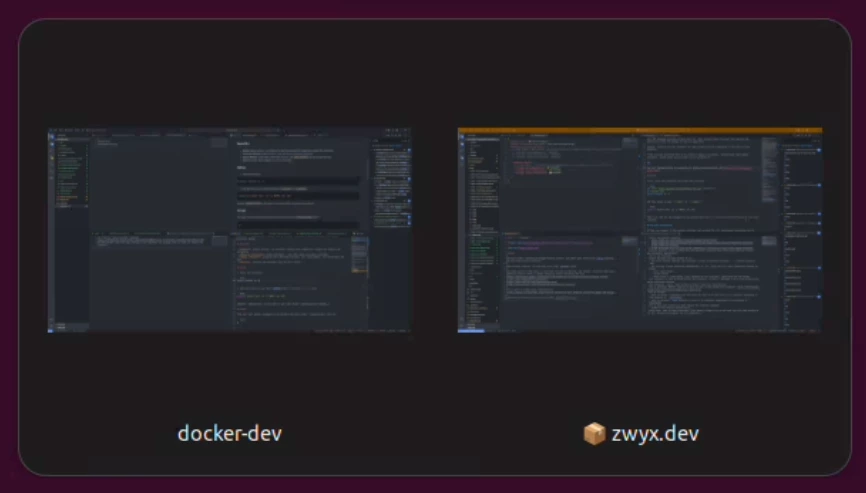
docker-dev is a regular window, zwyx.dev is attached to the containerOpen VS Code's settings and select the Remote tab. Settings in this tab apply only to windows that are attached to the container:

These settings are saved in ~/.vscode-server/data/Machine/settings.json in the container's file system. Docker Dev includes an example copy of this file, which is copied to the correct location during the container's creation (see the Dockerfile).
Ports
Now that you have your container, you'll want to run everything Node-related inside it (npm i, npm run dev, etc.).
To run web applications, you'll need to expose their ports to be able to access them from your browser on your host machine.
We could configure the ports in the docker-compose.yml file, but exposing ports this way can only be done before the container starts. It cannot be changed while it is running.
A more practical solution is to use VS Code to forward our ports. Contrary to Docker, VS Code can start and stop forwarding ports while the container is running.
Open the command palette and run Forward a port, enter the port number, and press Enter. For example, I am forwarding port 3000 to run Docusaurus as I'm writing this blog post, to preview it in my browser.
Note that some dev servers require an additional argument for container networking, usually --host 0.0.0.0. Docker Dev is configured with a few useful aliases, such as:
alias nrd='npm run dev -- --host 0.0.0.0'
Trash
On your host machine, deleting a file from VS Code's File Explorer usually sends this file to your system's trash.
Inside a container however, VS Code isn't able to do this by default, and deletes files permanently instead.
If you want to have the trash functionality inside your container, install the Remote Trash extension. (Docker Dev is already configured with trash-cli, which is required for this extension to work.)
NVM
Docker Dev comes preconfigured with NVM to manage your Node versions. To avoid taking up extra space unnecessarily, it uses the downloaded Node versions already present on your host machine. (See in docker-compose.yml, the line - ~/.nvm:/home/${USER}/.nvm that mounts your host's ~/.nvm folder inside the container.)
Advanced features
Integration with other applications
Docker Dev provides useful scripts to integrate it with other applications (Git clients, etc.).
Use the script docker-dev/misc/open-in-vscode.sh to configure the external editor of any application that supports it. For instance with Sublime Merge:
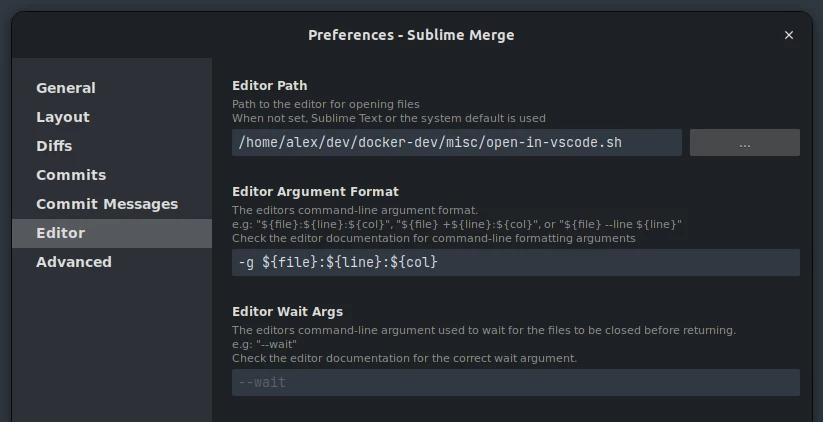
open-in-vscode.sh resolves the closest Git repository from the path passed as argument (or the current working directory if no argument is provided), and opens it in either a VS Code window attached to the dev container, or a regular one if the directory contains a file named .nocontainer. (If a window on this project is already open, VS Code will simply focus it.)
Another script – docker-dev/misc/open-in-terminal.sh – opens the path passed as argument in either a terminal session inside the dev container, or a regular one if the directory contains a file named .nocontainer.
If you need to create .nocontainer files, but you'd prefer not to commit them or add them to every project's .gitignore, you can simply add .nocontainer to your global ignore file:
.nocontainer
Host command execution
The scripts in the previous section allow you to open VS Code inside the dev container from another application. But how to do the opposite: open an external application from inside the dev container?
The Host command execution feature of Docker Dev addresses exactly this: it allows to execute commands on the host machine from within the container.
It uses a messaging system with a service that watches for command requests from the container and executes them on the host.
Setup
- Install
inotify-tools:
sudo apt install inotify-tools
- Make sure the watcher script is executable:
chmod +x host-exec-service/host-exec.sh
- Install and start the systemd service – replace
<path-to-docker-dev>below:
mkdir -p ~/.config/systemd/user
ln -s "<path-to-docker-dev>/host-exec-service/host-exec.service" ~/.config/systemd/user/
systemctl --user daemon-reload
systemctl --user enable host-exec.service
systemctl --user start host-exec.service
- Recreate the container, for the volume
~/.docker-devto be mounted:
docker-compose up --build -d
Make your own commands
Create host-exec-xxx files specific to your use case (like the ones in docker-dev/container-content) and adapt the file docker-dev/host-exec-service/host-exec.sh (mainly the array ALLOWED_COMMANDS – restart the service after modifying this file: systemctl --user restart host-exec.service).
For instance, the file host-exec-sublime-merge allows to open Sublime Merge from a VS Code window attached to the container. It uses the extension History in Sublime Merge, with its setting history-in-sublime-merge.path in the container set to host-exec-sublime-merge. It also requires a script open-in-sublime-merge.sh (see host-exec.sh).
Security aspects to keep in mind
Make sure the host command execution service maintains the following features in order to prevent malicious scripts from escaping the container:
- Whitelist-based: only approved commands can be executed.
- Path validation: commands can only target directories under your main workspace folder.
- Arguments validation: arguments are only allowed for specific, safe commands.
- Shell injection prevention: potentially dangerous characters are blocked.
Final thoughts
Setting up this system takes 20-30 minutes. In exchange, you get:
- Protection from malicious NPM packages that could compromise your system.
- Peace of mind when installing dependencies from unfamiliar packages.
- Instant access to a consistent development environment.
- Flexibility to opt out specific projects with a simple
.nocontainerfile.
For anyone who frequently works with Node.js projects, especially those involving third-party packages or untrusted code, this setup provides a significant security improvement with minimal overhead.
Give it a try at github.com/zwyx/docker-dev.